Scan a room
Note — iPhone/iPad vs Android: On iPhone/iPad, scans are stored locally and you must upload the inspection manually (one-way app → web). On Android, everything syncs automatically to the web — you should not upload or delete inspections manually.
Prepare the room before scanning: close doors, turn on all lights, open blinds and clear the corners. See Tips for scanning for more details.
Starting a room scan
- Open the Wenn Property app on your iPhone/iPad
- Select a project or create a new one
- Tap «Start ny befaring» (Start new inspection) or «Legg til rom» (Add room)
- Tap «Start 3D-scanning» (Start 3D scan)
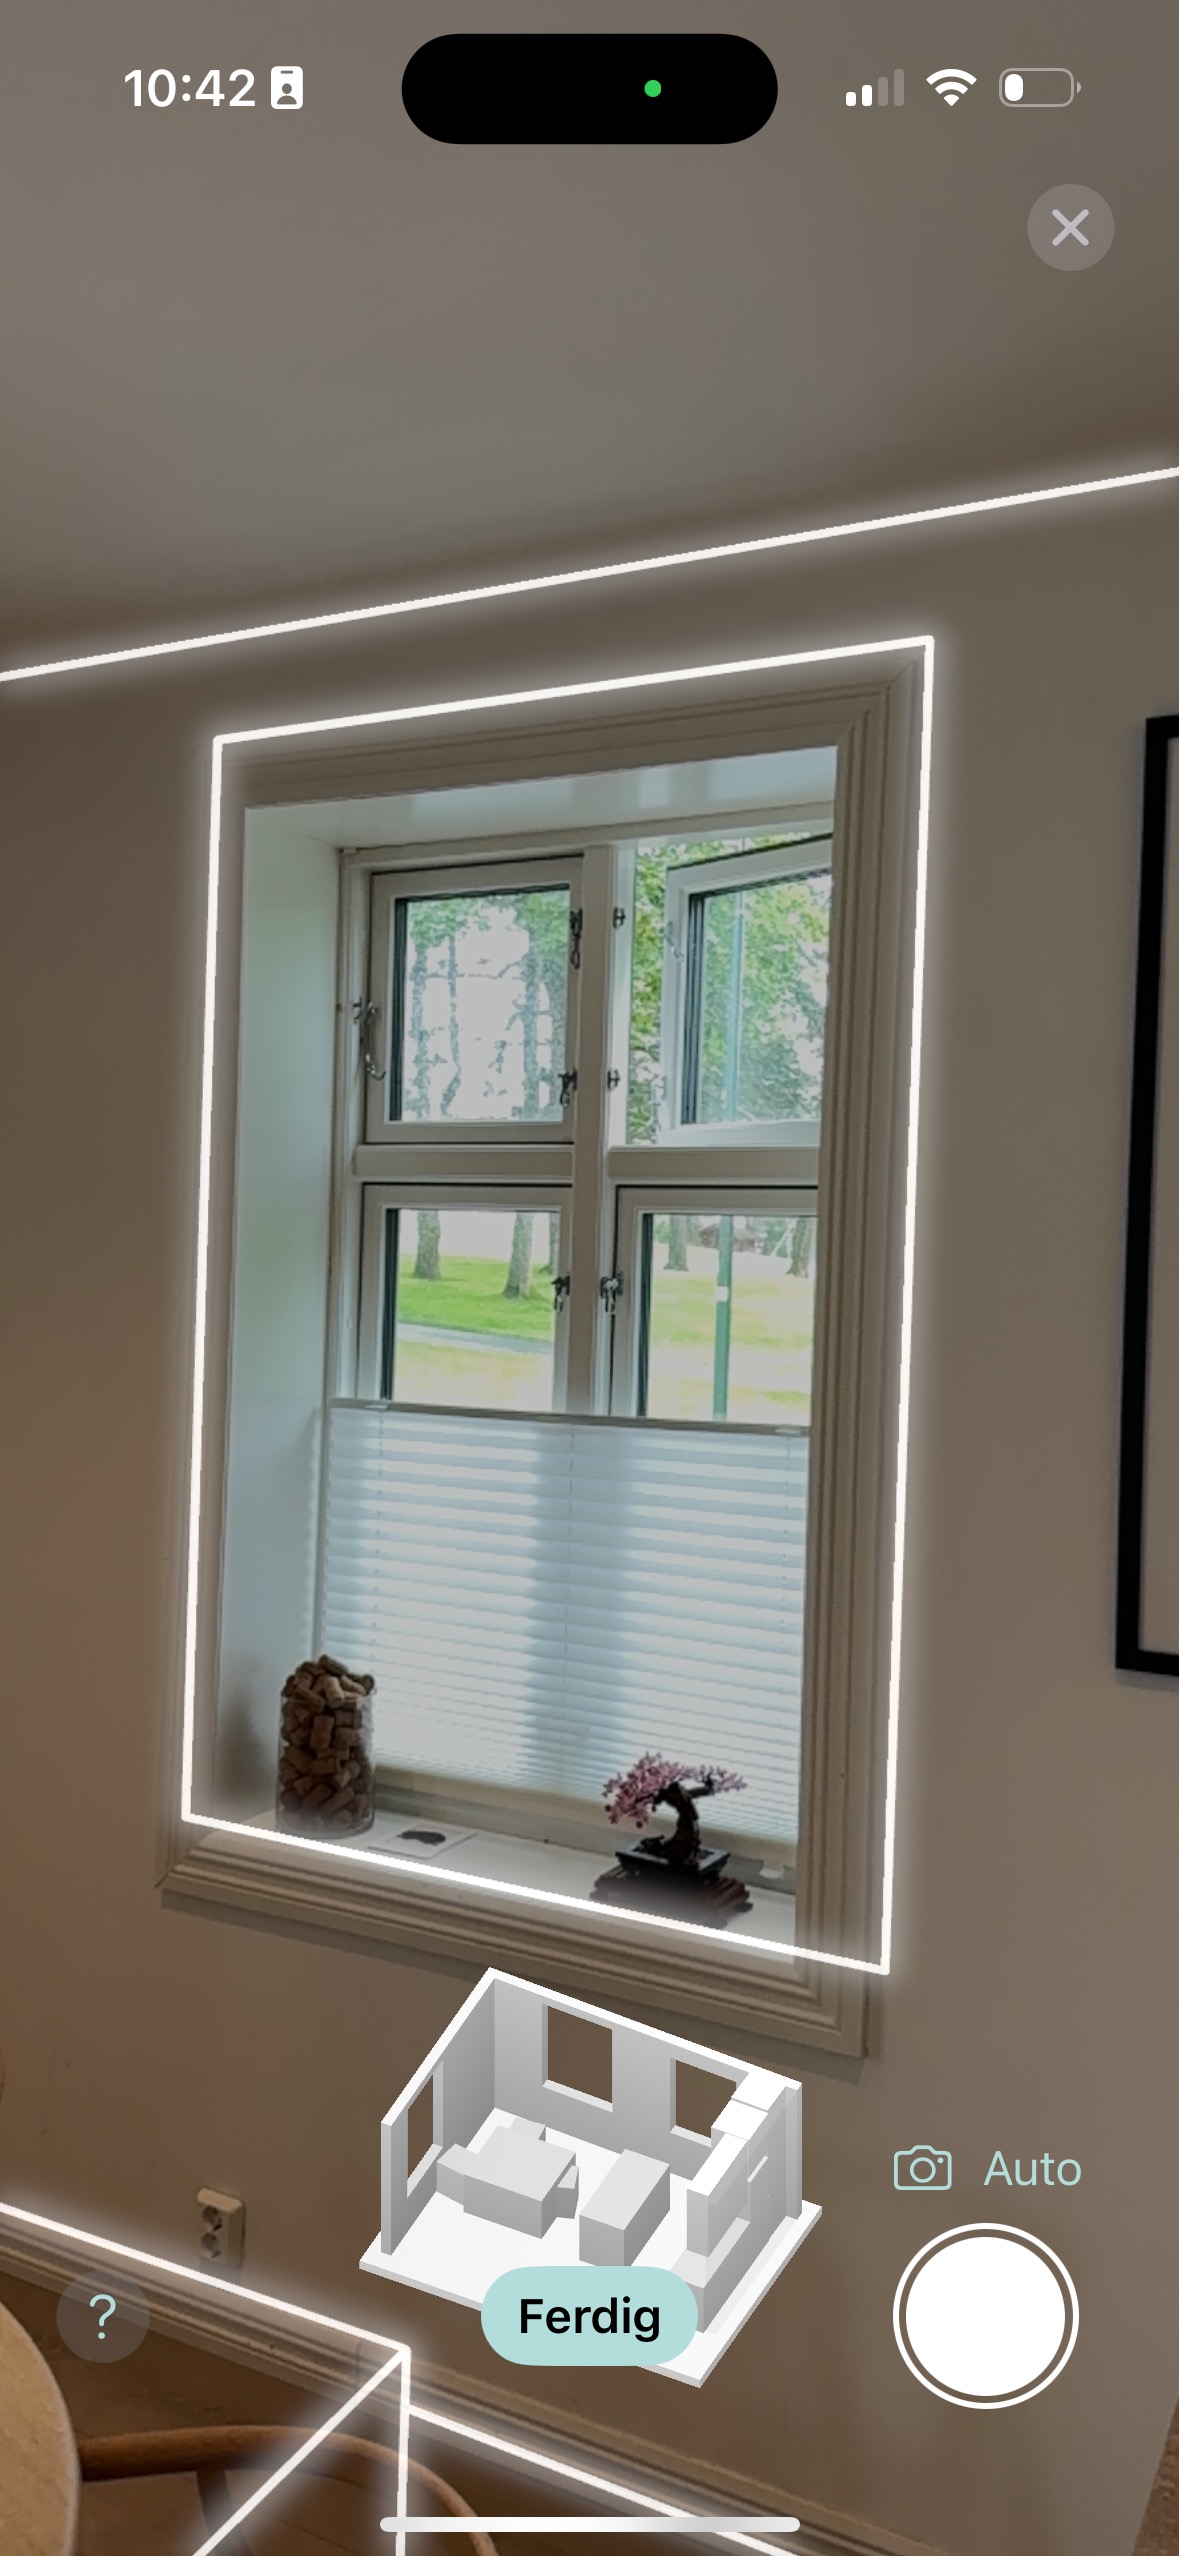
The camera activates and the app starts analysing the room.
The scanning process
Position yourself with a good overview of the room. The app gives instructions along the way.
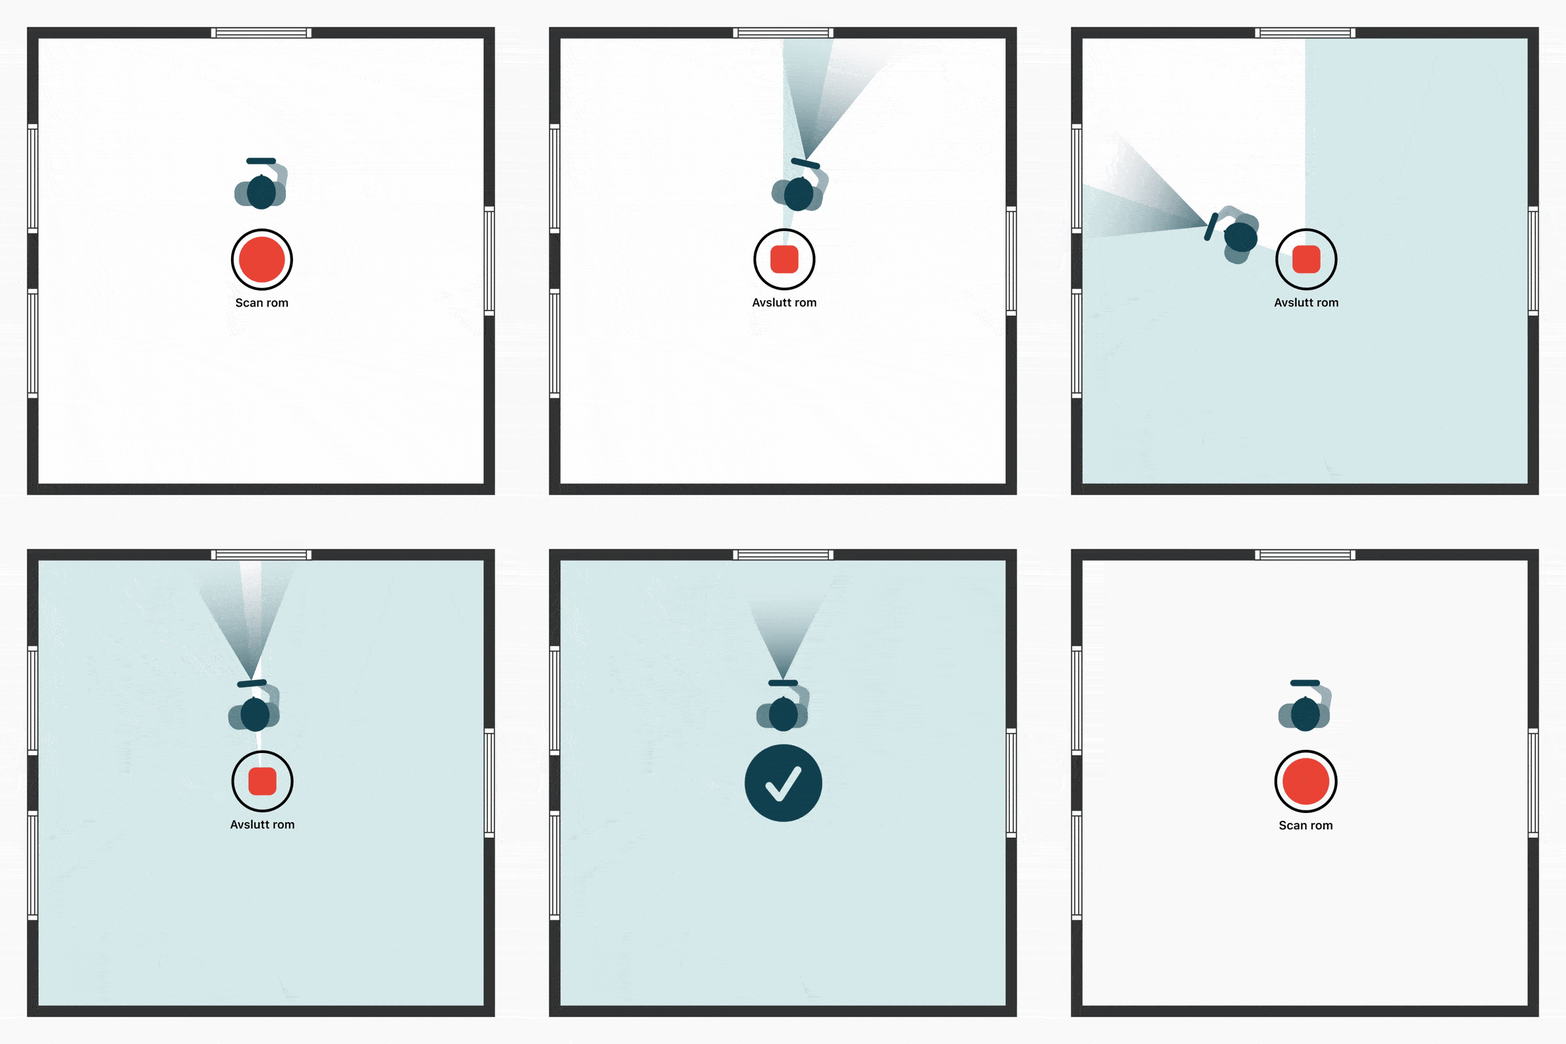
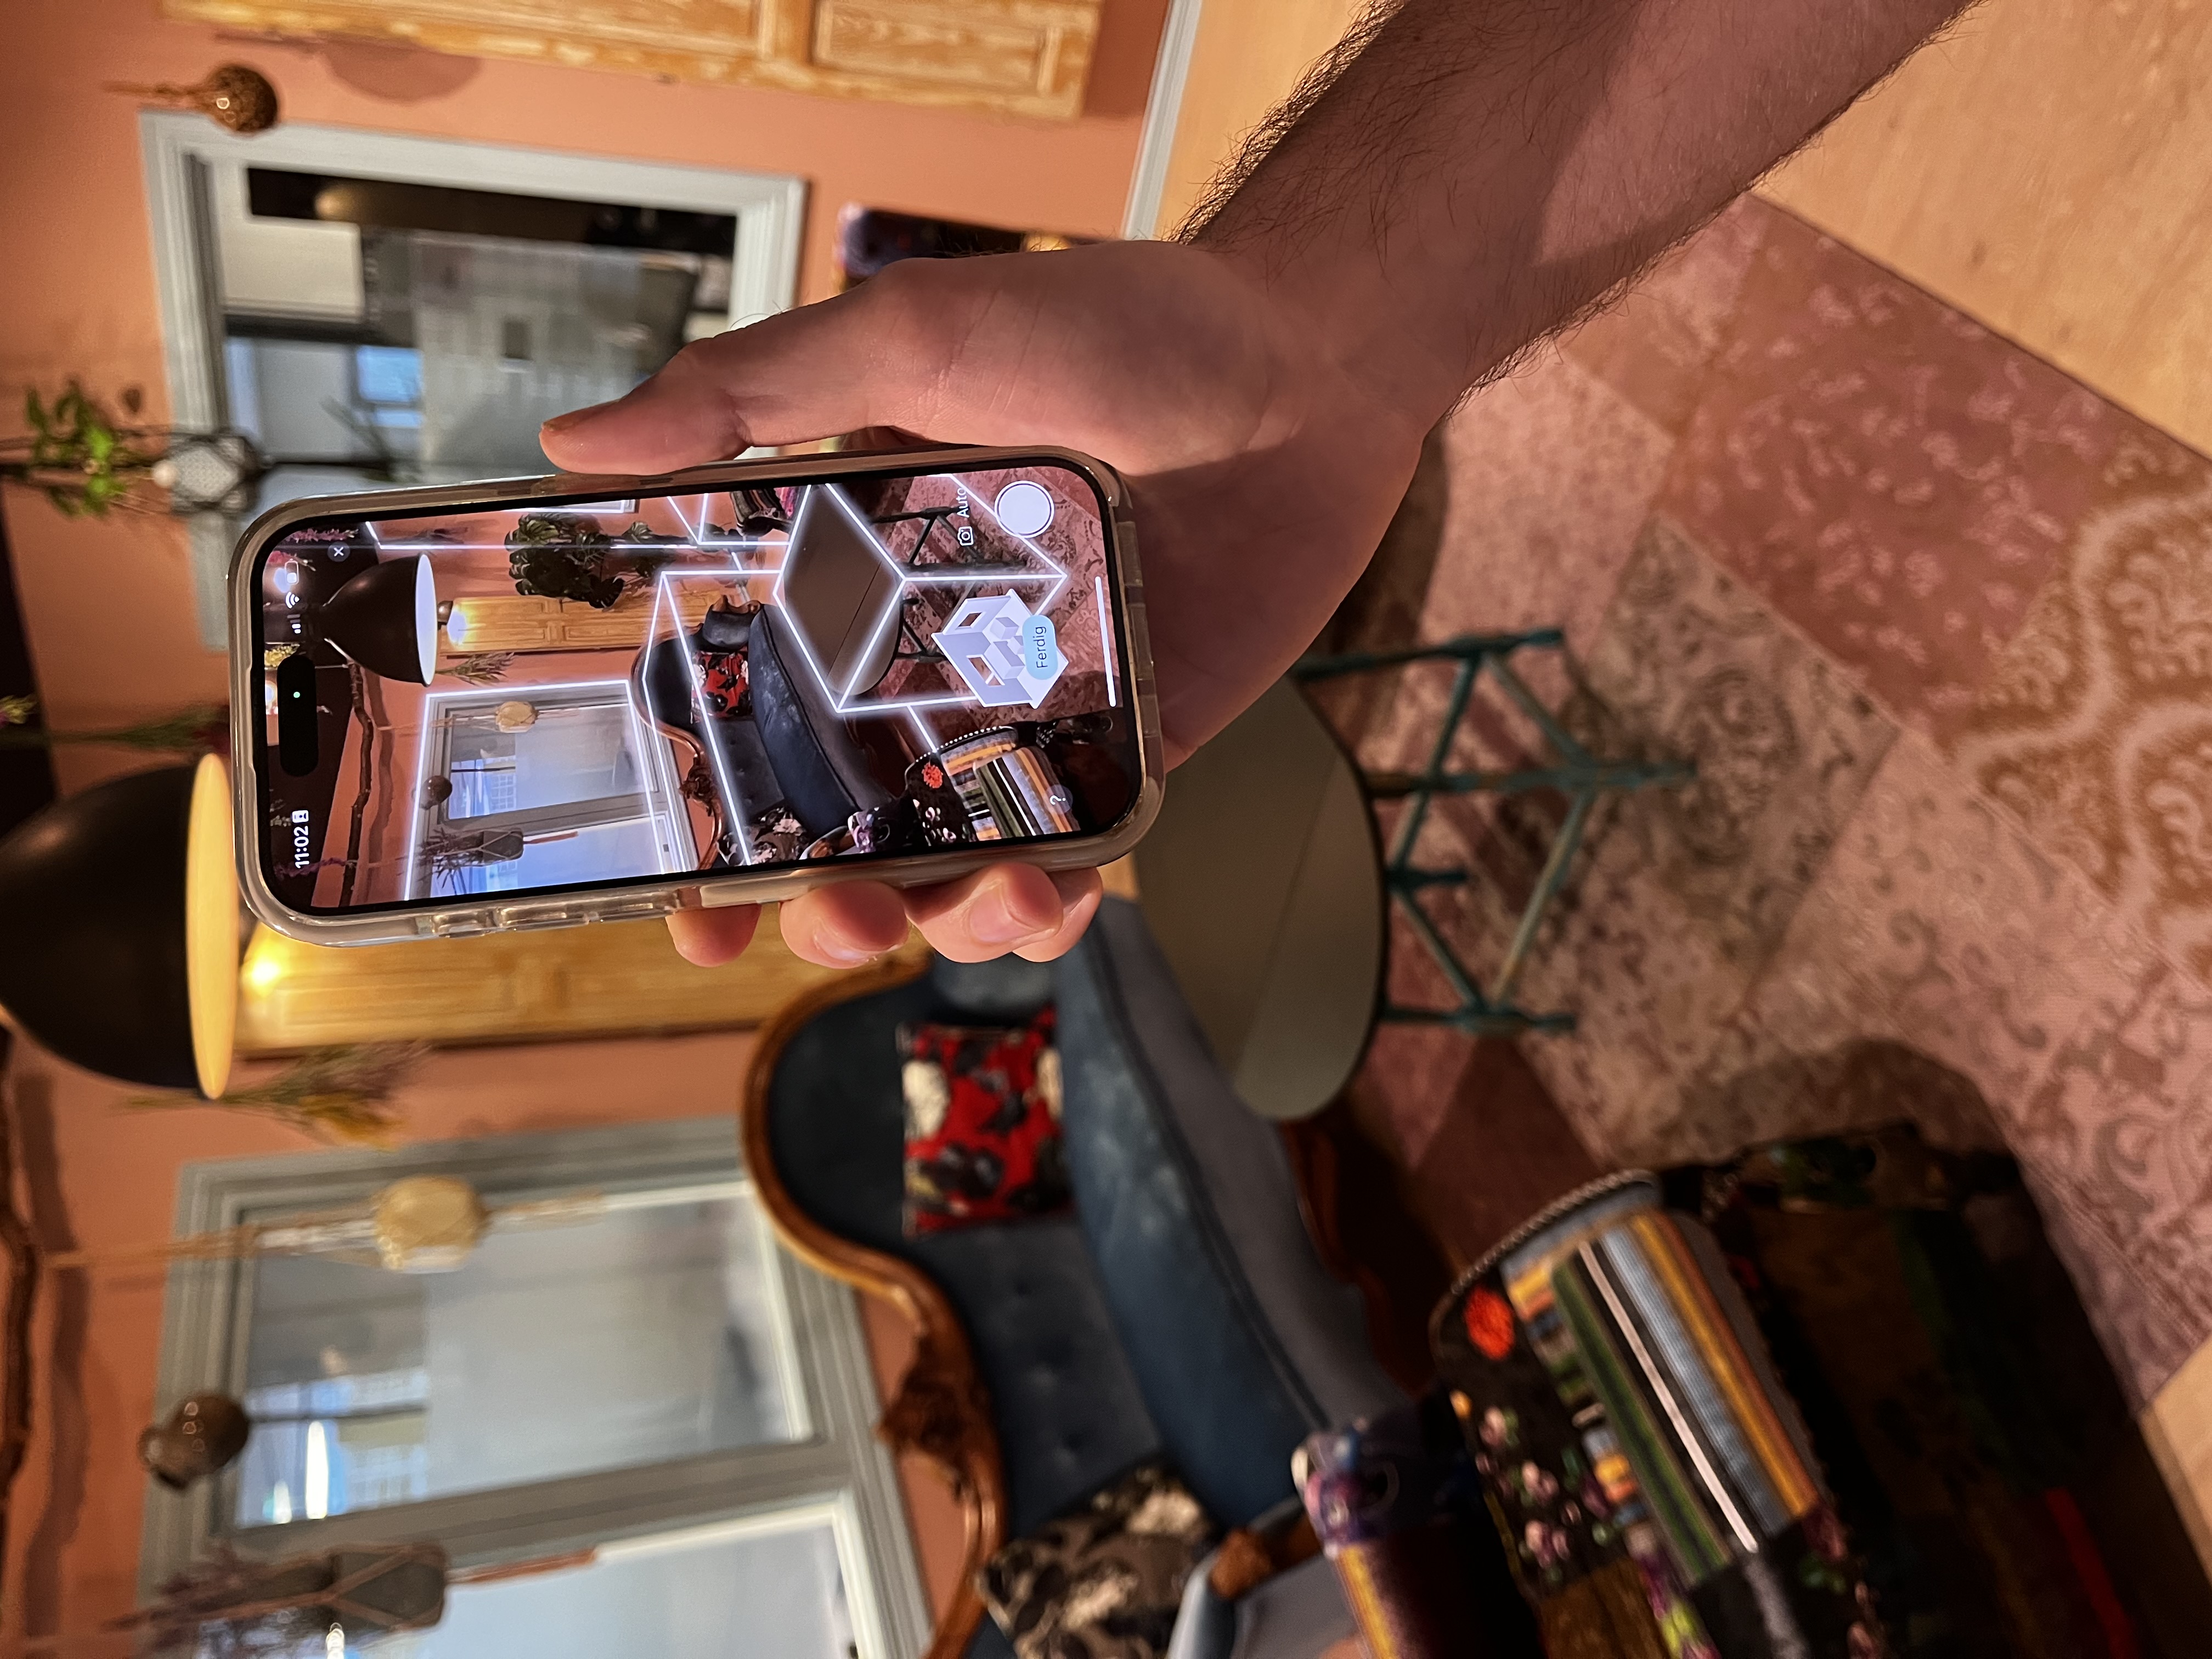
Move the device slowly and steadily along the walls. Avoid fast or abrupt movements, and pause at corners for better recognition. White lines mark identified edges and furniture.
The app shows a small 3D model of scanned areas, white lines on edges and corners, and instructions when needed.
Special areas
Windows and doors: Scan from several angles for the best recognition. Reflective glass can be challenging — focus on the frame.
Large rooms: Plan your route in advance. Start with one area and work systematically. Make sure areas overlap.
Finishing the scan
- Tap «Fullfør scanning» (Finish scan) when the button turns green
- The app processes the 3D model (30–60 seconds)
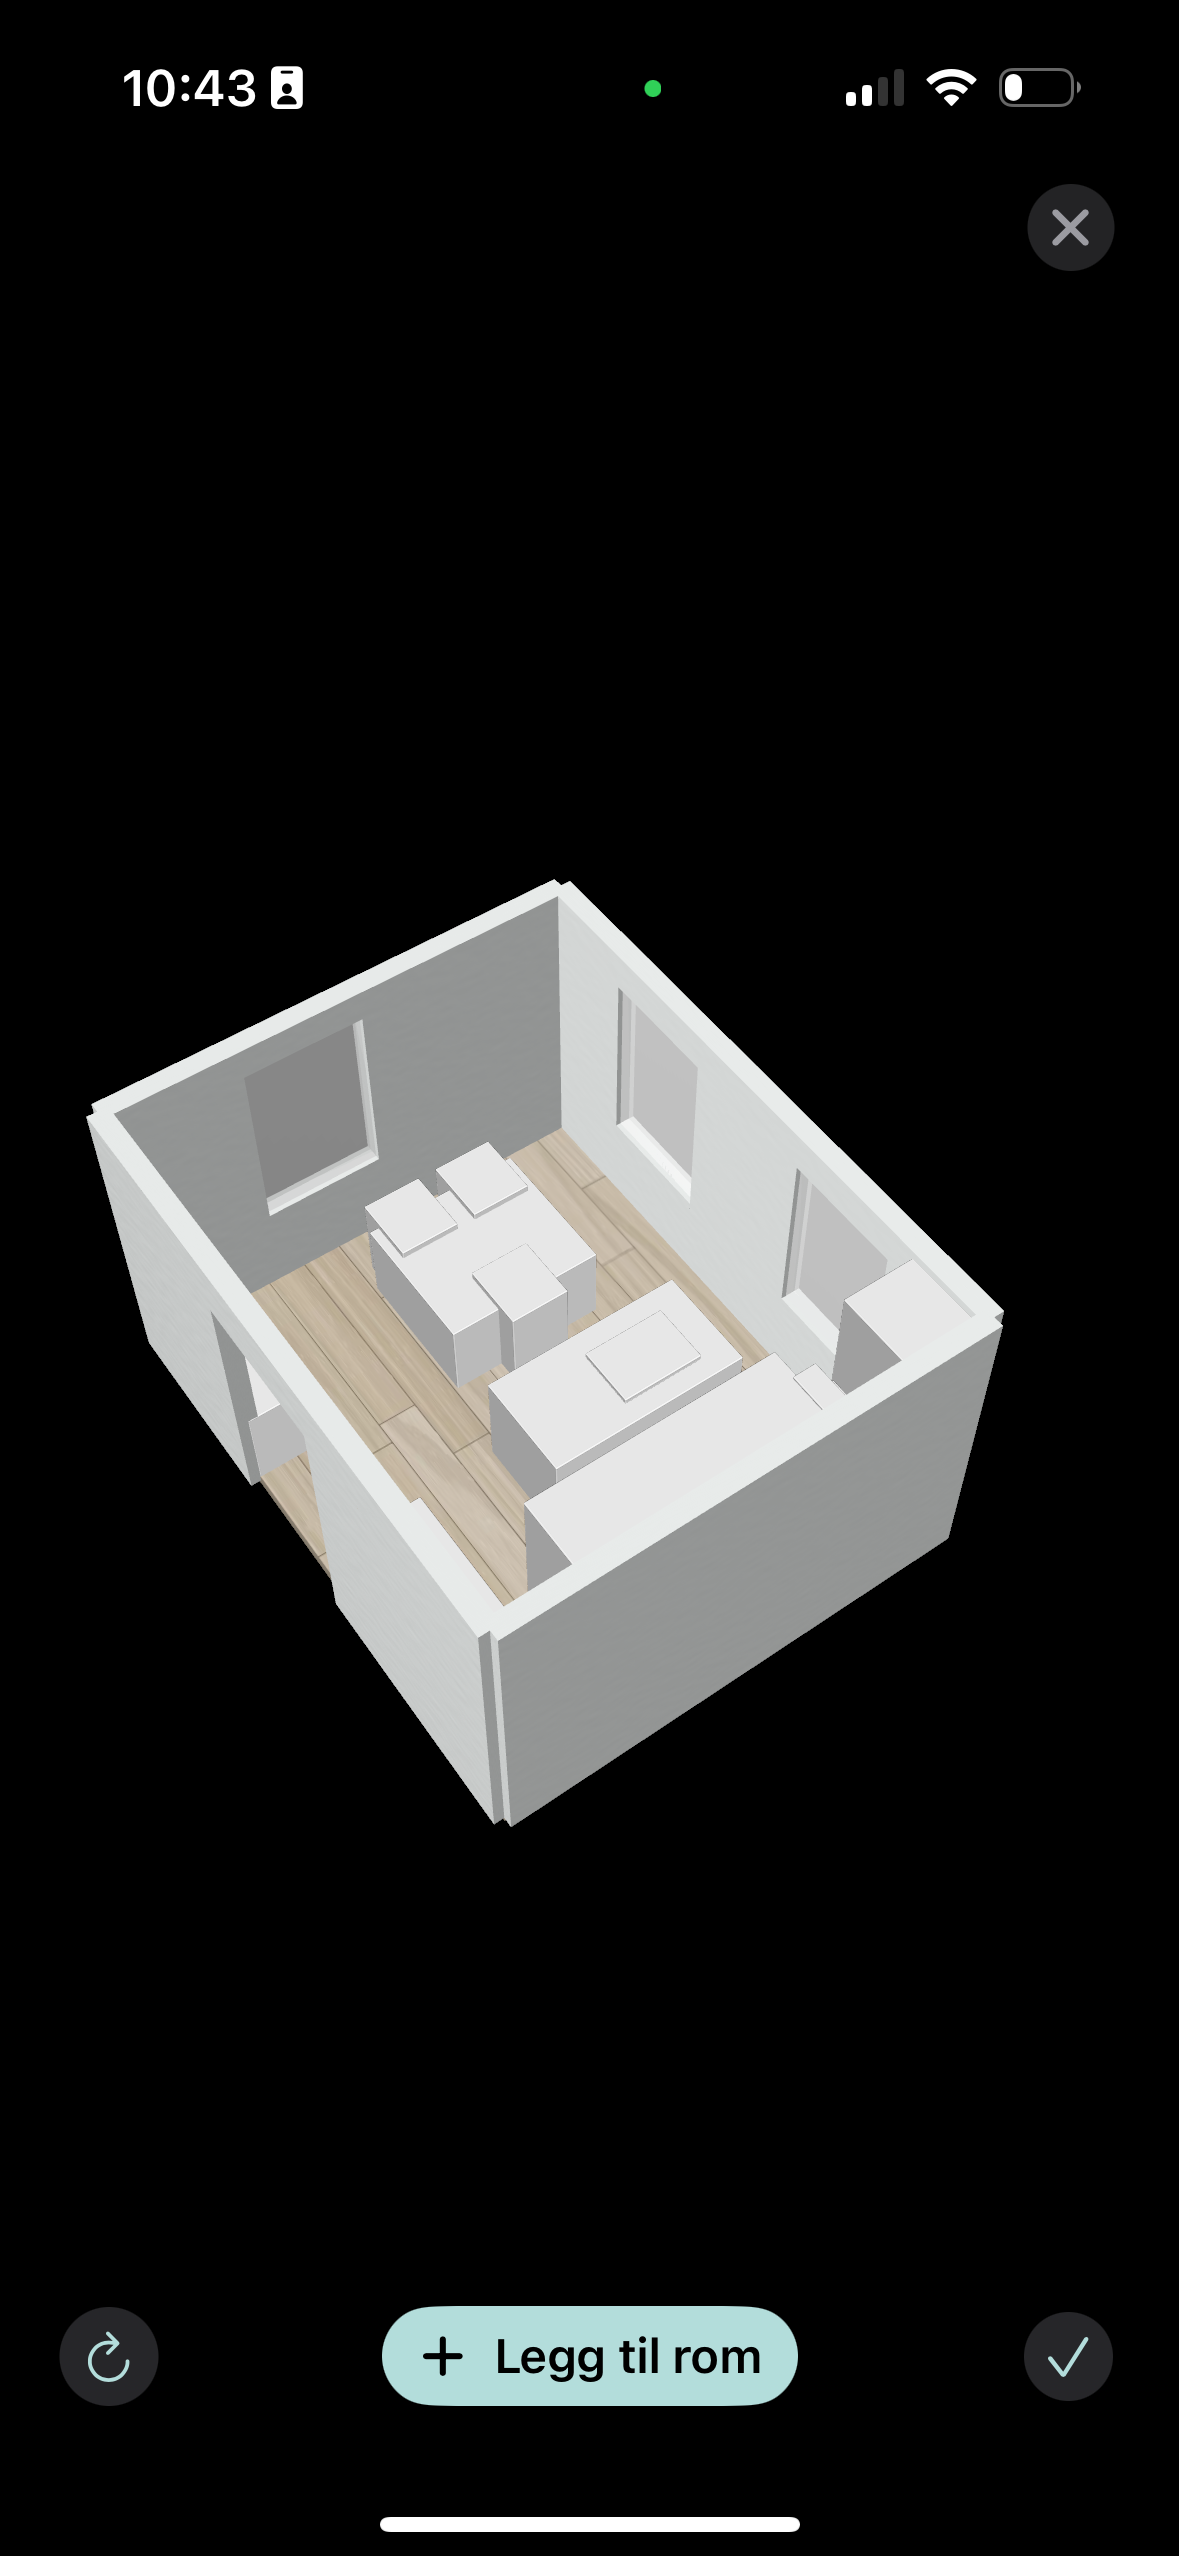
- Check the result in the preview — verify that all walls are included and that windows/doors are recognised
Taking photos during the scan
Tap the white round button at the bottom right to take photos manually. These are labelled «manuelt» (manual) for easy identification. Automatic photos can be turned on/off — the choice is remembered for the next scan.
Common challenges
Scanning fails: Try again with better lighting, clear more of the room, start from a different corner, or move more slowly.
Poor recognition: Scan objects from several angles, make sure the camera lens is clean, and avoid direct sunlight.
The room is now scanned and ready for documentation with photos and notes, or for direct upload to the web application.